
My daughter and I made these recently on a cold, wet, lazy Sunday afternoon.. and wow! These are so cool! Slightly spicy, very flavorful, with a roasted toasty outside. She and I DID get to eat SOME of them.... but one of my teenagers ended up basically taking the whole bowl and snacking on them while he was on the computer. I have to admit, they are quite addictive!
Click here to view my Video Recipe to make these Spicy Roasted Chickpeas
Ingredients:
Ingredients:
- 1 can (14-15 oz) chickpeas, rinsed and drained
- 2 Tbsp extra virgin olive oil
- 1 Tbsp minced garlic (or 1/2 tsp garlic powder)
- 1/4 tsp red pepper flakes
- 1/2 tsp kosher salt
- 1/4 tsp ground black pepper
- 1/2 tsp Italian seasoning
- 1 tsp fresh rosemary, chopped fine
- Parmigiano reggiano, freshly grated
Step-by-Step:
Preheat oven to 425 degrees F. Drain and rinse the canned chickpeas.
 |
| 1 (14.5 oz) can chickpeas (Garbonzo beans) |

In a medium sized bowl, mix together the olive oil, garlic, red pepper flakes, salt and pepper, and Italian seasoning. Add the drained chickpeas to the herbed oil. Toss gently to coat.
Olive oil....
 |
| 2 Tbsp extra virgin olive oil |
 |
| 1/2 tsp Italian seasoning |


 |
| Lily understands all about leveling off her dry ingredients. I don't even have to remind her anymore. |

1 rounded Tbsp Minced garlic...

1/4 tsp Black pepper...
 |
| 1/4 tsp black pepper |

 |
| 1/4 tsp red pepper flakes (add more if you want more heat) |
Whisk to combine...

Add the chickpeas to the herbed oil..


Be gentle with coating the chickpeas. You don't want to smash them or break them up.

Spread them onto the baking sheet.


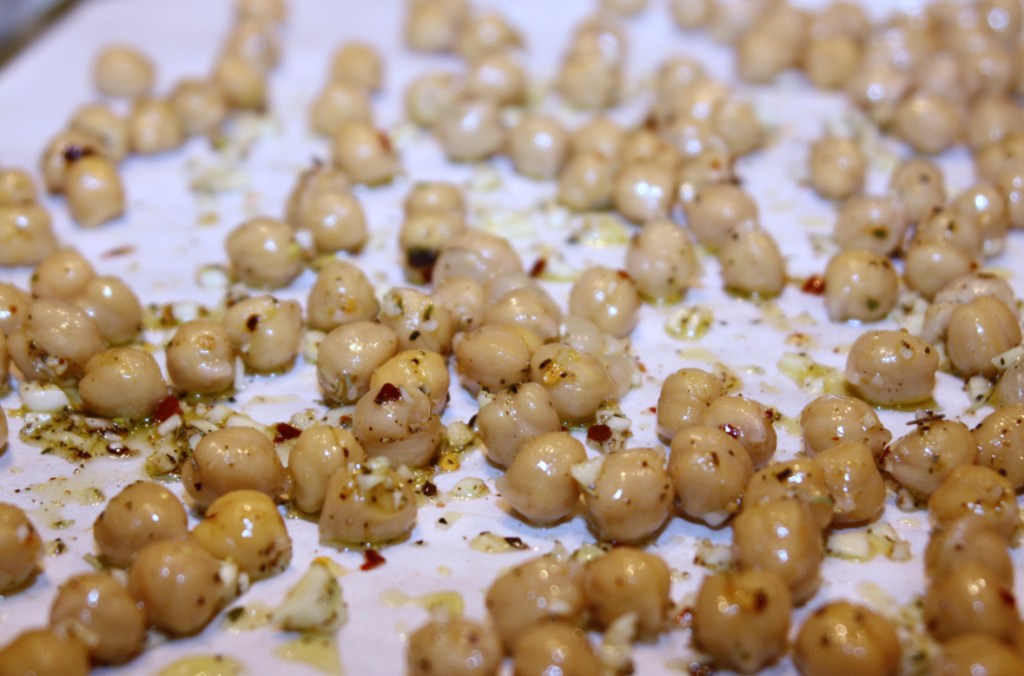
This is how they look after baking!

Now sprinkle them with a little extra kosher salt if you wish. Grate some Parmigiano reggiano over the top, and sprinkle with the fresh chopped rosemary.


So during the baking time, we always clean up. We also manage to have a little fun. For one thing, after spreading the chickpeas, Lily's hands were covered in the herbed oil. She found it to be quite tasty, and it made for some fun photos. This is why we do this.... to enjoy time together, making precious memories.


So we hope you will try these. You probably have all the ingredients already. These are all pantry staples with nothing "fresh" required, except for the cheese (which we always have on hand in the fridge). You might like these next time someone else is noshing on buttery popcorn and you want something a little healthier.


Written Directions
Preheat oven to 425 degrees F. Drain and rinse the canned chickpeas. Allow them to drain on a paper towel.
Preheat oven to 425 degrees F. Drain and rinse the canned chickpeas. Allow them to drain on a paper towel.
In a medium sized bowl, mix together the olive oil, garlic, red pepper flakes, salt and pepper, and Italian seasoning. Add the drained chickpeas to the herbed oil. Toss gently to coat.
Spread the seasoned chickpeas onto a baking sheet. Bake for around 10 minutes. I lined the baking sheet with parchment paper for easy clean-up. After the first 10 minutes, remove the baking sheet and turn the chickpeas so you can roast the other side. Return baking sheet to oven and bake for an additional 15 minutes. Remove from oven and sprinkle with a little extra kosher salt, freshly grated Pamigiano reggian, and the chopped rosemary. Serve hot and toasty!
If you need to reheat these, a toaster oven works great... they crisp right up again!

Looking for more easy appetizers?
- Beer Battered Asparagus with Lemon Herbed Dipping Sauce
- Dill and Sun Dried Tomato Cucumber Rolls
- Bacon Wrapped Jalapeno Poppers
- Fire Roasted Corn Guacamole
- and a whole slew of other great appetizers, party foods, and main recipes on my Recipe Index!
Click here to Subscribe to MenuMusings so you won't miss a thing!


