
Pork wrapped in pork? Yep. Can I get an "Amen?!" And to top that off, it's filled with a delicious caramelized onion, apple, toasted walnut filling. Yum!! The pancetta helps to keep the pork moist, as do the juices from the apples, and the flavors are just huge in your mouth!
My family really enjoys pork tenderloin, and these days they are super lean. But they are also a blank slate, just waiting for you to add some pizzazz. Well this, my friends, it pizzazz!
This recipe is a bit more labor intensive (in terms of number of steps) than some other posts, but rest assured, each step is simple; and I will walk you through it one step at a time. You could easily assemble the whole thing ahead of time, and have it "oven ready" and waiting in the fridge for you to walk in from work. Your regular pork chops will be so jealous! Can you say "dinner party worthy?"
Ingredients:
Filling-
- 2 Tbsp butter + 1 Tbsp more later
- 1/2 onion, chopped
- 2 medium apples, chopped
- 1 tsp fresh thyme
- 1/3 cup toasted walnuts, chopped
- 1/3 cup freshly grated Parmigiano reggiano cheese
- kosher salt and black pepper to taste

- 2 Tbsp garlic, minced
- 1 tsp kosher salt
- 2 Tbsp extra virgin olive oil (EVOO)
- 2 Tbsp chopped fresh herbs
- rosemary, sage, chives
- 1 tsp mustard powder
- 1 Tbsp white wine vinegar
- 1 1/2 - 2 pound pork tenderloin
- 6 oz pancetta
Here's the general plan of attack..
Prepare Filling -- Stuff the pork -- Prepare the dressing -- Wrap the pork -- Cook.
Step 1. Let's start with the filling. This can also be made ahead of time and refrigerated.
Start by toasting the nuts. I put them in a dry pan and toasted at 400 degrees F for 7 minutes, shaking them around about halfway.
 |
| 1/3 cup walnuts |
 |
| 2 Tbsp butter |
 |
| 1/2 onion, chopped |
 |
| 2 medium apples, chopped |
Remove the toasted nuts from the oven and let them cool. Then chop them. It obviously takes Lily quite a while longer to chop them than if I did it myself, but this is quality time for us.

 |
| 1 tsp fresh thyme |
 |
| kosher salt |
 |
| black pepper |
 |
| 1 Tbsp butter |
 |
| 1/3 cup toasted, chopped walnuts |
Let that all cook down a while. The onions and apples should get nice and soft (but not mushy). It will be pretty fragrant.

 |
| 1/3 cup grated Parmigiano reggiano cheese |
Of course, you MUST taste this. You need to check your seasonings anyway, right? Sweet, crunchy, salty, herbaceous... yum.
Variation - If you are short on time, or do not need an entire pork tenderloin, this would be a great topping by itself for some thick, center cup pork loin chops!!! Just let it cook down a bit more.

Step 2. Lets stuff the pork.
So here is my beautiful, lean pork tenderloin. This one was about 1.5 pounds. I trimmed it, first, of any exterior fat, and removed the silver skin.

I butterflied the pork, going almost to the end, but not quite. Err on the side of leaving more thickness than you think. You can always cut deeper later.


Season the pork. I always season each component of my dish. I don't want a flavorful filling and bland meat.
 |
| kosher salt + black pepper |
 |
| The apple, onion, nut filling |
Fold the pork over, tucking the filling in as best you can. I probably add a little too much filling to mine, but it worked out okay. This isn't an exact science. HaHa

Wrap the pork in plastic wrap and chill it for a while. I let it "mold" to the plastic wrap a while so that I could make my dressing and get my pancetta ready.

Step 3. Let's make the outside dressing.
Add all the ingredients together.
 |
| 2 Tbsp freshly chopped/minced garlic |
 |
| 2 Tbsp EVOO |
 |
| 1 tsp kosher salt _ black pepper |

Next, I went out an gathered some herbs from my garden. Use what you have. I had rosemary, chives, and sage.

 |
| This came out to about 2 Tbsp chopped herbs. |
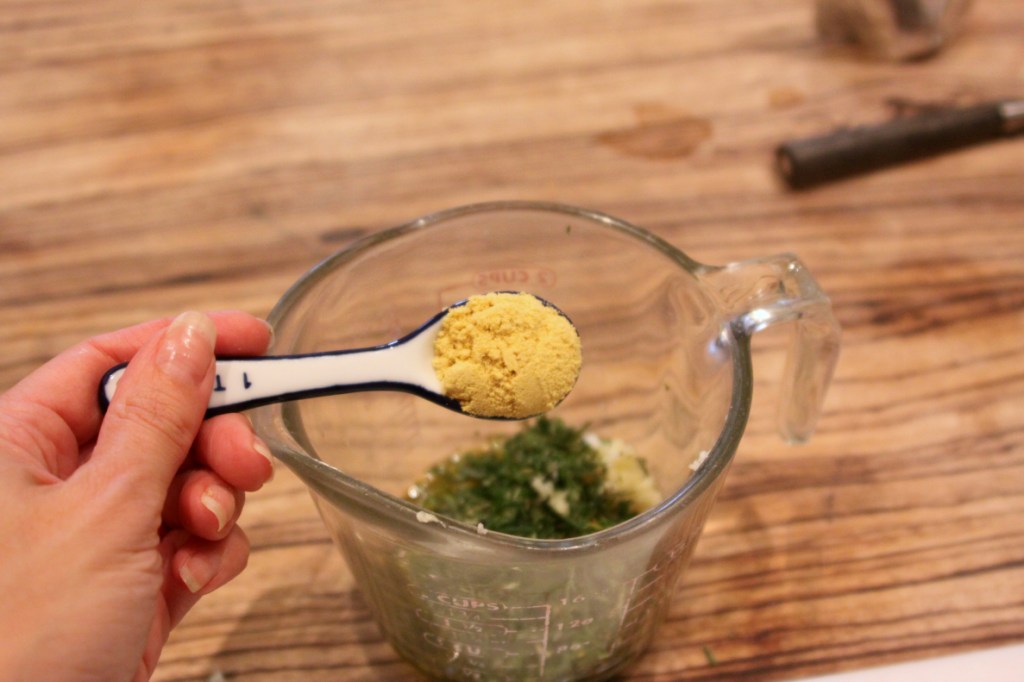 |
| 1 tsp mustard powder |
 |
| 1 Tbsp white wine vinegar |
Step 4. Wrap the pork.
Here's where it really gets fun! Find yourself a cute little helper.
Set out a large sheet of plastic wrap. On top of the plastic warp, arrange your pancetta - slightly overlapping each other, until the rectangle is large enough to completely cover the pork. I pretty much just used my chopping board as a guide.
 |
| about 6 ounces of pancetta. |

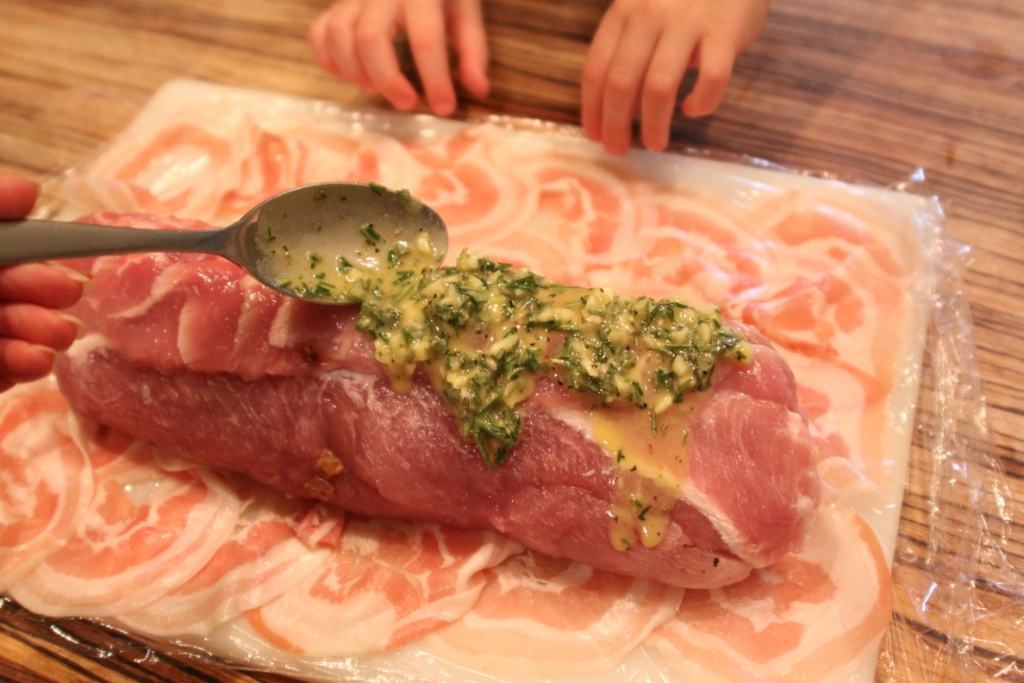
Give it a nice massage. This will be another layer of flavor for the pork, that we will wrap inside the pancetta blanket.

Now starting from one side, use the plastic wrap to help you roll the pancetta up and around that awesome pork. Can you tell that I had extra help to do this? :)

Wrap it tightly, using the plastic wrap. Pull the wrap back before it would start rolling over onto itself.

Twist the ends of the plastic wrap tightly and let the whole thing rest in the refrigerator about 30 minutes so the pancetta will sort of mold itself to the pork.

Tie the pancetta with kitchen twine. I roasted the meat on a cooling rack set into a cookie sheet so that the hot air could circulate underneath it. I didn't want the bottom to be soggy.

Bake at 400 degrees F x 43 min or until to 150 degrees internal temp (per digital thermometer).
Can you see the thermometer sticking out of the meat in the bottom left side of the photo? You can just set it at the temperature you want it, and it will alert you when that temp is reached. This takes a LOT of the guess work out of cooking the pork. You want it cooked, but not overdone. And you definitely want it to be juicy.

And Ta-DA!!!! Here we have it! Beautiful, right? The pancetta gets all crispy, but our pork is still juicy. But PLEASE, do NOT cut into it yet. Tent the pork with aluminum foil and let it rest about 10 minutes so the juices won't all run out of it.

Now here we have a shot of the inside of the pork. Tender and juicy. Very flavorful. Sweet and crunchy inside. Tangy dressing on the outside. Crispy Italian bacon surrounding the whole thing? All you need are some great sides and you have the makings of a beautiful meal, whether this is for Sunday supper with the family, or for a dinner party.

I hope you enjoyed this recipe! If you want to see more great recipes that you can cook with/for your family, hop on over to my Recipe Index. You'll find tons of ideas! Some are more involved "weekend" type projects like this one, and others make liberal use of convenience items to get food on the table fast after a busy work day.
If you are new to my blog, Click Here to Subscribe to MenuMusings so you won't miss a thing! We can always use new members to this growing community.
As always, here are some bonus recipes. Just click the links to go there:


